Kimchi: The Beginner’s Guide to Fermenting
You may have noticed that we, The 3 Spoons, have developed an obsession with fermentation - the most ancient and natural practice of preserving food. By delving into the making of beer and sourdough bread, we’ve been indoctrinated with its health benefits, but even more fascinating is its crucial role in the history of human civilization. This issue, we are exploring the afterlife of food - the different methods of natural preservation - and thought it fitting to start with something our dinner table is rarely without.
In our household, there are a handful of things that you will always find: Keen’s mustard, freshly roasted coffee beans, cornichons...and kimchi. Our avid consumption of kimchi is arguably comparable to most Korean Canadians. Unusual, given that neither of us is Korean. Given the speed at which we can finish a 1.2 kg tub of kimchi, I’ve begun to make my own.
Maangchi has always been my go-to for Korean recipes. Despite her eccentricities and questionable knife skills, her recipes are not only a reflection of a stellar home cook, but of a larger-than-life personality that can confidently ease any novice into just about anything.
My first attempt at a Korean dish was Maangchi’s Gamjatang or Pork Bone Soup. It’s not a typical dish to start with if you’ve never made Korean food before, but the need to learn how to make this dish was born out of necessity. Or an intense craving. Same thing. I used to have pork bone soup about once a week when I lived in North York and when I moved to Montreal (before the Korean restaurant boom there) I had no viable source for my fix. I followed the recipe step by step and the result was surprisingly authentic.
So when it came time to try my hand at making kimchi, I instinctively turned to Maangchi’s Easy Kimchi recipe. While the level of difficulty for making kimchi is in my opinion much lower, there is a sense of self-doubt that overcomes you when fermenting something for the first time. Your hopes turn from “I hope this turns out good” to “I hope this doesn’t kill me”. Fermentation is, after all, a controlled rotting of food and rotting food is something us Westerners have been taught to stay away from.
Before You Begin
The first thing you’ll notice is that the recipe was designed for a whopping 10 lbs of napa cabbage. This easily could’ve turned me away - unless you’re Drake, no downtown Toronto loft will reasonably hold that amount of kimchi, nor should it. And we haven’t reached the kimchi consumption stage that warranted the purchase of a dedicated kimchi fridge. Yes, there is such a thing as a kimchi fridge in the market. I was determined to remain loyal to Maangchi. So, I’ve toned down the measurements for you below to save you the trouble of attempting the conversions. The recipe has been adapted to an average 1 kg napa cabbage.
The next thing you’ll notice is that if you watch Maangchi’s instructional video - which I strongly suggest you do first - the measurements for each ingredient in the recipe, like most designed by home cooks, is fairly inaccurate and not the most logical in choice of units. Something that would’ve driven Nick mad and myself as well had I not gotten used to getting recipes for childhood favourites from my Asian mom. I say just go with it. Millions of home cooks, particularly ethnic ones, tend to just eyeball things and go with feeling and intuition more than anything. Consider it an additional step towards authenticity.
I’ve adjusted the recipe. Maangchi calls for a salted squid component that should be prepared a week prior to making your kimchi. I’ve omitted it altogether. If you pick up a jar of kimchi at the supermarket, you’ll notice that it will almost always have a seafood additive - be it squid, shrimp, oysters, or clams - depending on the region where the recipe originates. For my first time, I didn’t feel comfortable fermenting raw seafood and never felt the need to add it in any of the times after that.
I’ve also cut down the amount of hot pepper flakes. Maangchi’s recipe is for very spicy kimchi and the amount of hot pepper flakes to add in is really up to personal taste. We like spicy, but not that spicy! Also, different brands of Korean hot pepper flakes do vary in their level of spiciness. I suggest you start with a conservative amount and dial it up if necessary in future attempts.
The recipe calls for carrots, daikon, and leeks. I’ve omitted these as well since making a much smaller batch reduced these to such small quantities that it was barely worth it. If you like having these vegetables in your kimchi, then by all means, add them back in.
About the Fermentation Part
Finally, a few things to consider during the fermentation process.
Maangchi mentions that she likes to keep a jar at room temperature to speed up the fermentation process, storing the rest in the fridge. I tried it both ways and if you do decide to store at room temperature, I recommend you do this only for a few days before putting it in the fridge. While it is common practice to store at room temperature at first, if you don’t feel comfortable doing so, it’s perfectly fine to ferment your kimchi in the fridge. In fact, factory-produced kimchi in Korea is kept at a constant 4 degrees celsius - the temperature of your fridge.
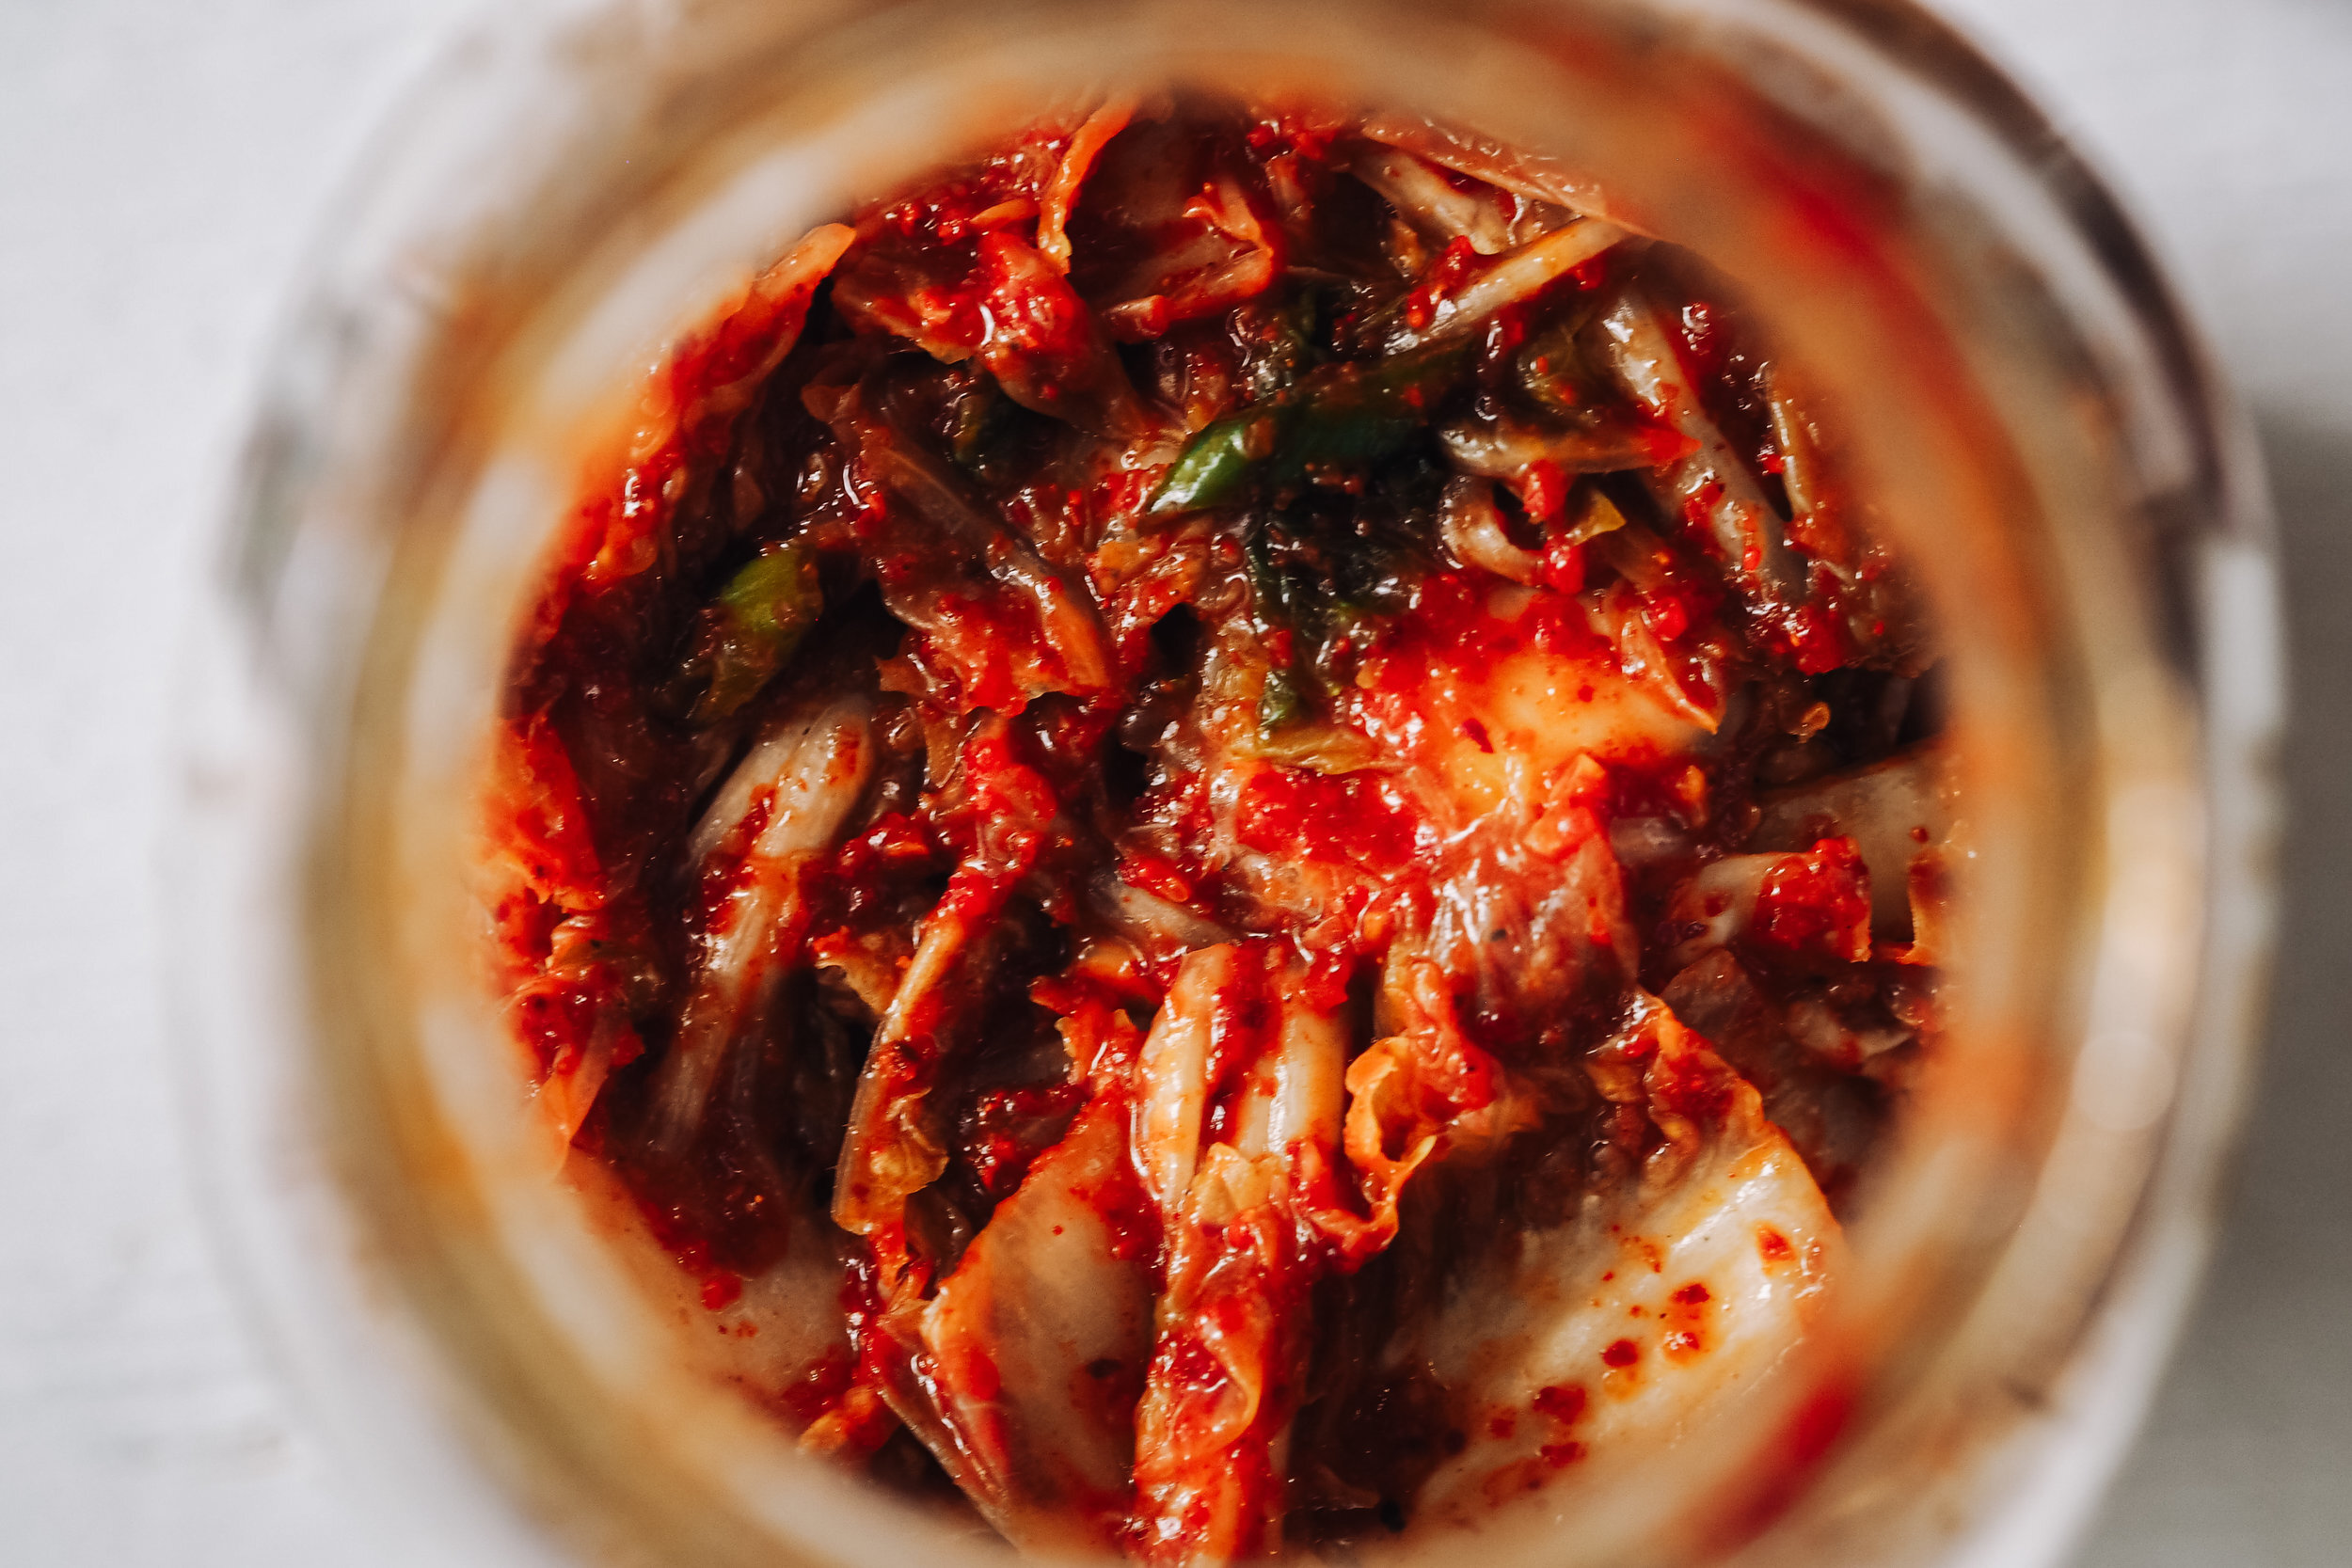
A mason jar is ideal, though any airtight container should do. Sanitize the container prior to loading it with the kimchi. Do not overfill the jar - it should be at most ¾ full. Otherwise, it may explode!
Check on it every now and then. If you see bubbles, that’s a good thing! That means it’s working. I would open the jar over the sink every few days to give it a sniff test and to stir the kimchi around a little bit. Make sure it is always submerged in the liquid.
Your instincts should tell you if something has gone horribly wrong. If something doesn’t smell right or if you see white mold developing on top, you’ll know that the kimchi has gone bad.
If you’re still a little apprehensive about the fermentation process, you can test the pH level of your kimchi to make sure it’s safe to eat. According to an article by the BBC, the ideal pH level of kimchi is pH4.5. As described in the article, however, your kimchi will not reach this level until about 2 weeks.
After having made this a few times now, I’ve become fairly confident - nothing’s ever gone wrong, really. I can peg the ideal consumption to be after at least 1 month after making it, with 3 months and beyond being at its best. And to Maangchi’s credit, the kimchi I’ve made has always turned out, in Nick’s opinion, better than most restaurants. So have no fear and give it a try!
The Recipe

1 kg Napa Cabbage (or 2.2 lbs)
Salt
5 ½ tsp Sweet Rice Flour a.k.a. Glutinous Rice Flour
2 ¾ tsp Sugar
150 ml Water
4 large Garlic Cloves
1 tsp Ginger
4 ½ tbsp Onion
3 ⅔ tbsp Fish Sauce
4 tbsp Korean Hot Pepper Flakes (to taste)
2 Green Onions
Step 1

Trim the cabbage of any undesirable leaves.
Step 2

Cut the cabbage lengthwise into quarters and remove the cores. Chop the quarters into bite size pieces.
Step 3

Rinse the cabbage thoroughly and drain through a colander. Place the colander over a large bowl. Sprinkle liberally with salt and let it sit for 30 minutes. After 30 minutes, mix the cabbage and repeat by salting and letting sit for 30 minutes. Repeat one last time for a total of 3 times at 30 minutes each or 1.5 hours.
Step 4

During one of the 30-minute waiting periods, make your rice porridge. Combine the sweet rice flour and the water in a small saucepan, mix well, and bring the mixture to a boil. Continue to stir until the porridge begins to bubble (about 5 minutes). Stir in the sugar and continue to cook for a few more minutes until the mixture is translucent. Set aside and let it cool.
Step 5
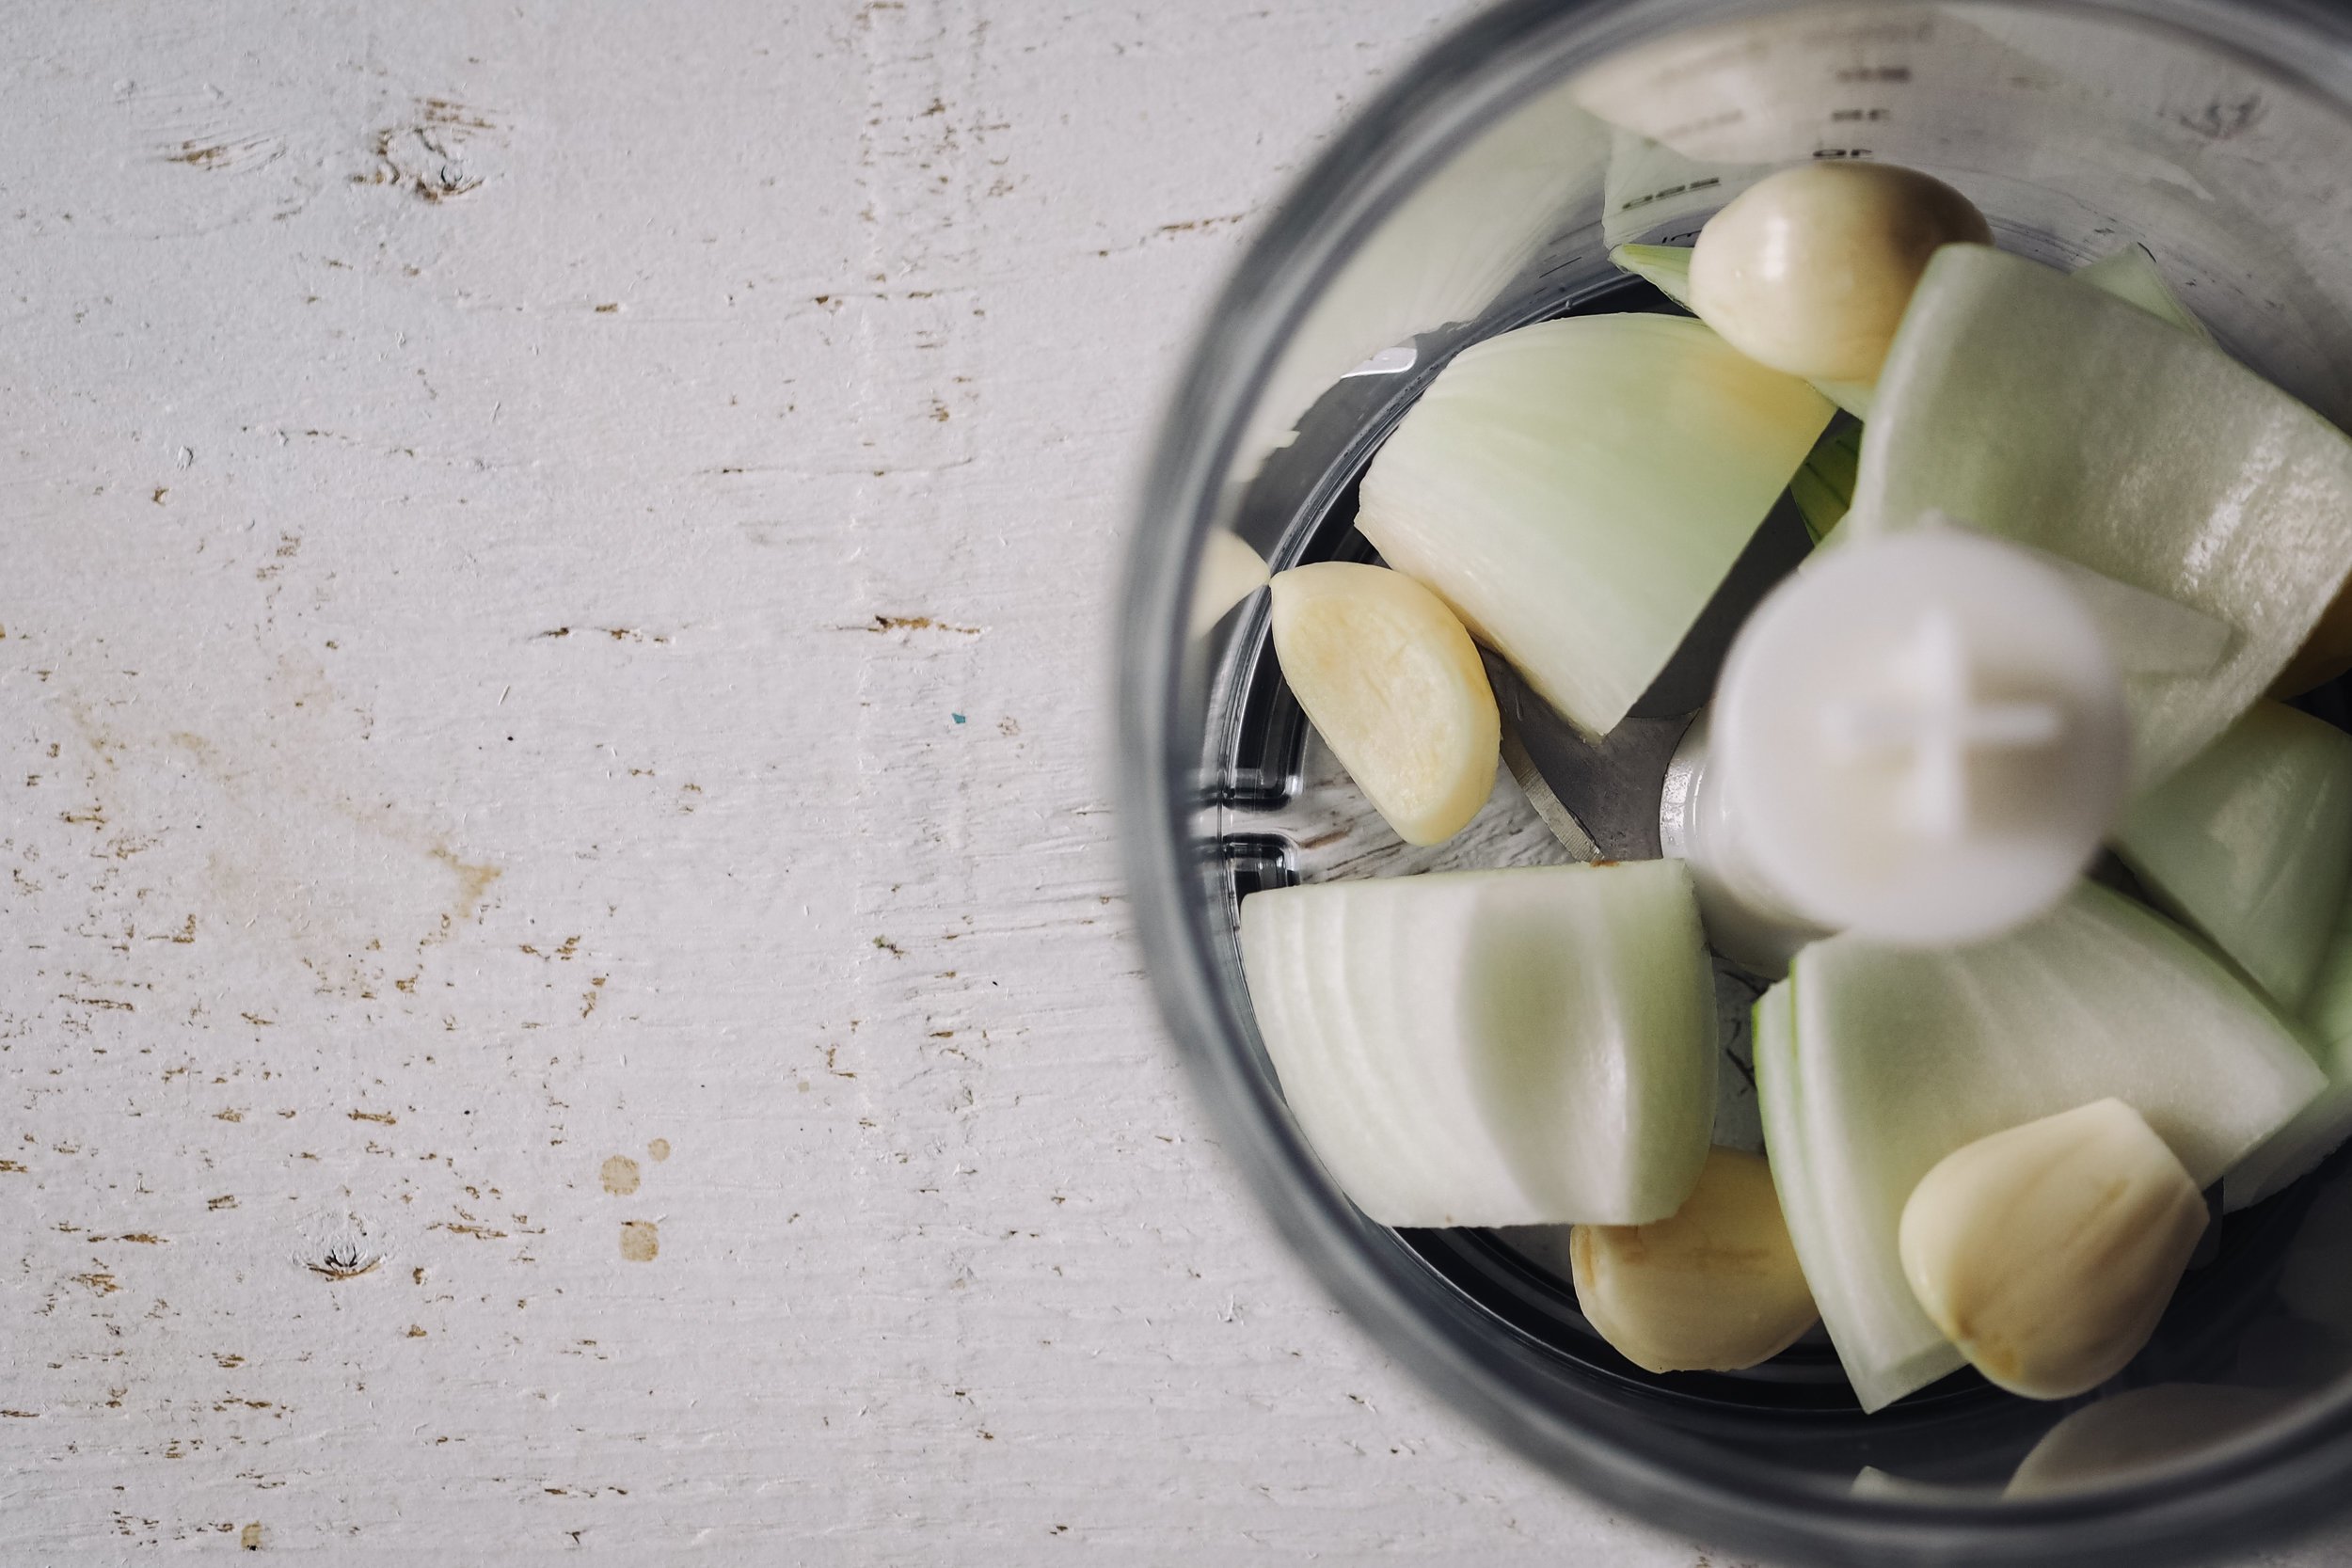

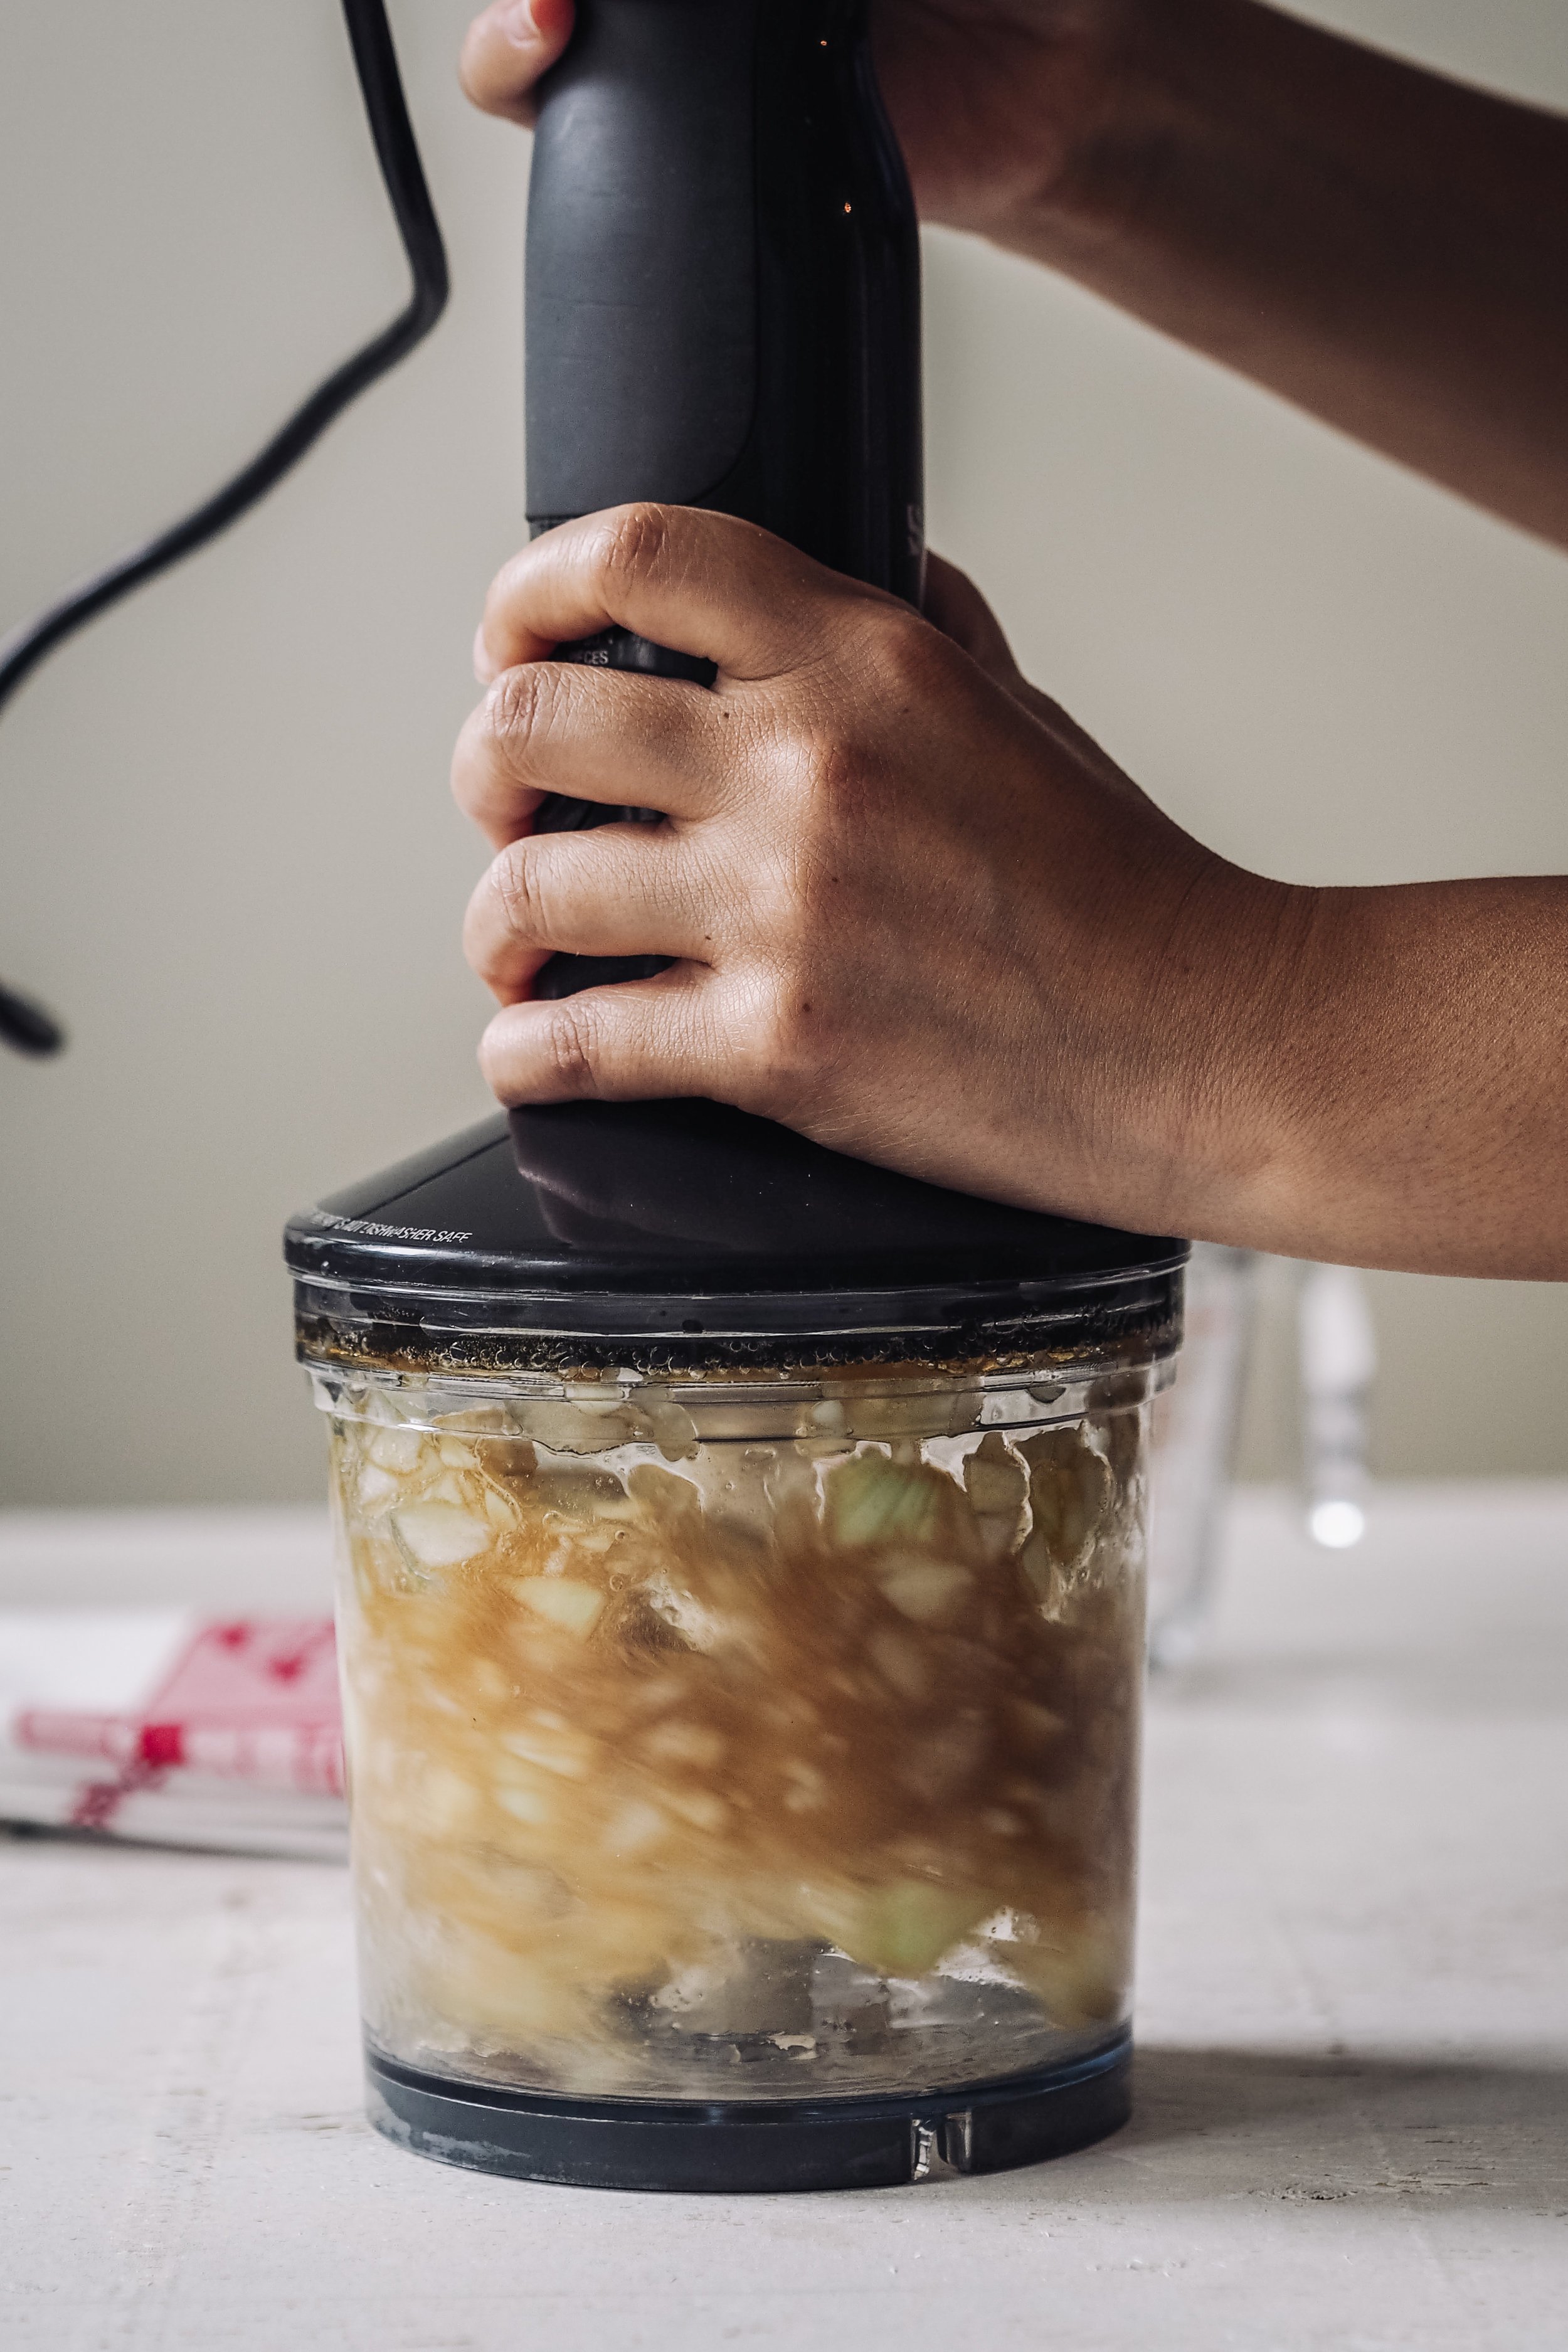
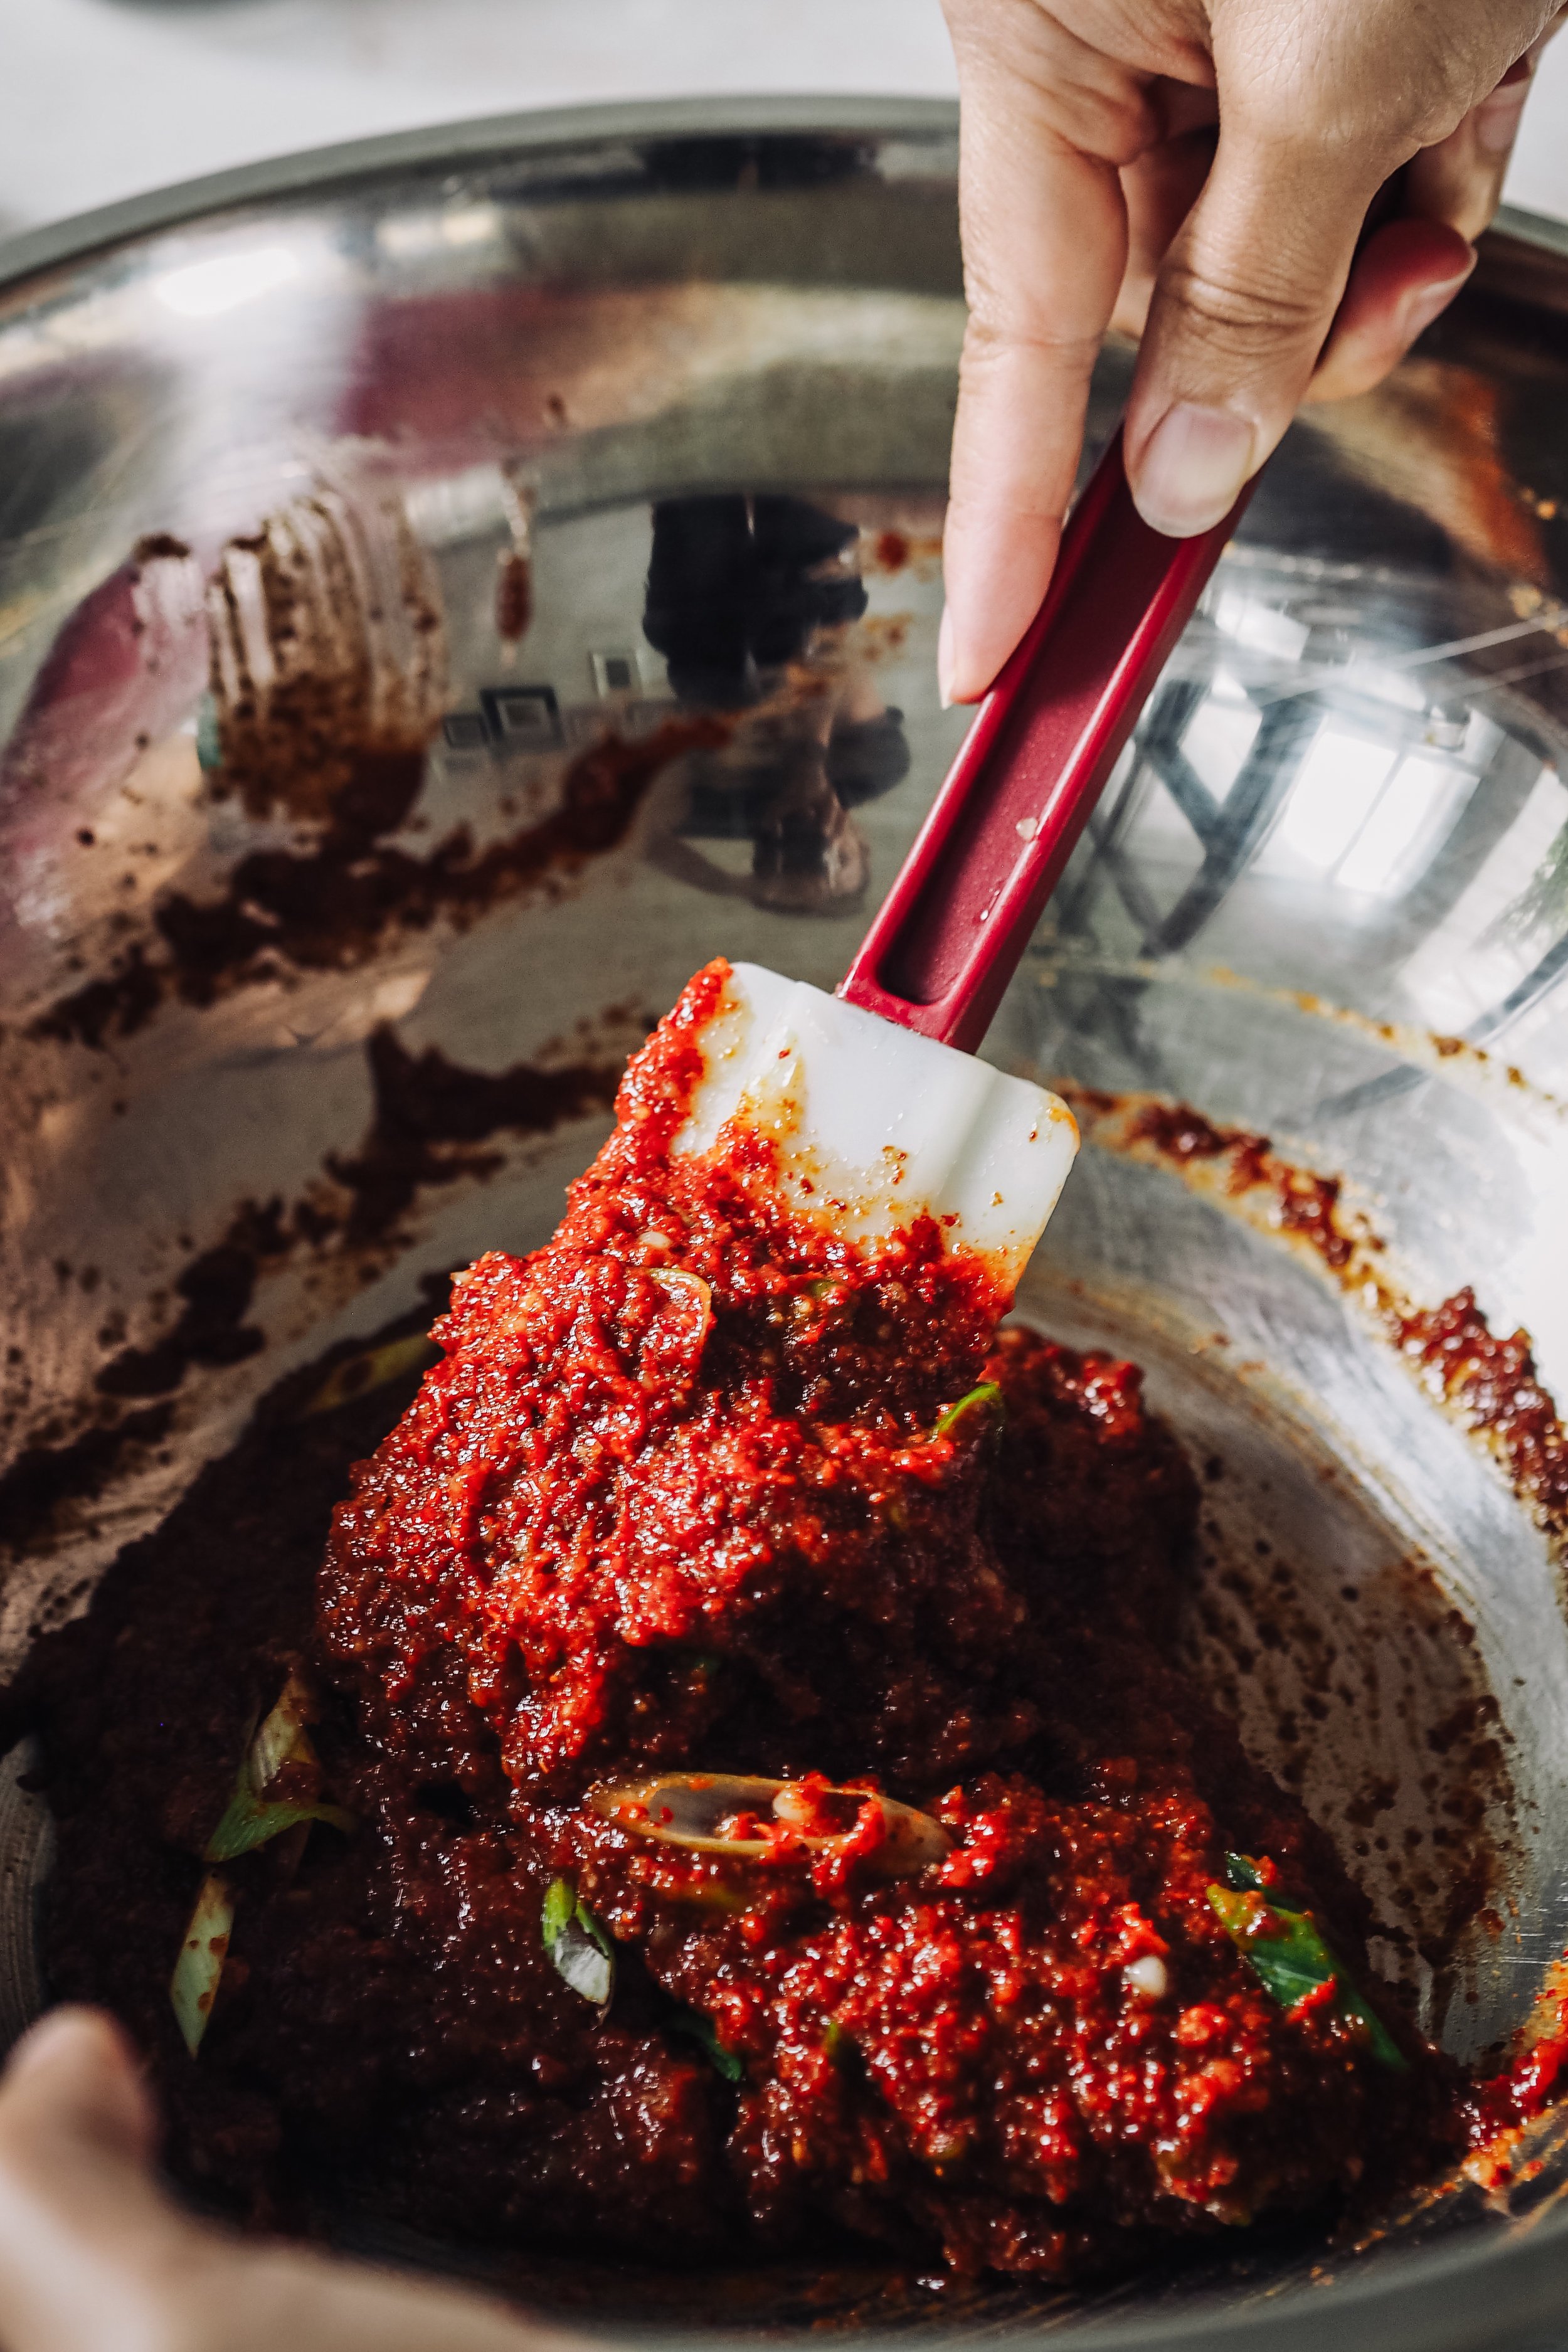
During the next 30-minute waiting period, you can make the kimchi paste. Combine the garlic, ginger, onion, and fish sauce in a food processor. Process until the mixture is smooth. Empty the mixture into a large bowl. If the rice porridge has cooled, add it to the bowl. Add in the hot pepper flakes and mix well until it looks like a consistent paste. This is where you mix in your vegetables if any.
Step 6
Once you’ve salted and drained your cabbage all 3 times, rinse thoroughly in water and drain again.
Step 7

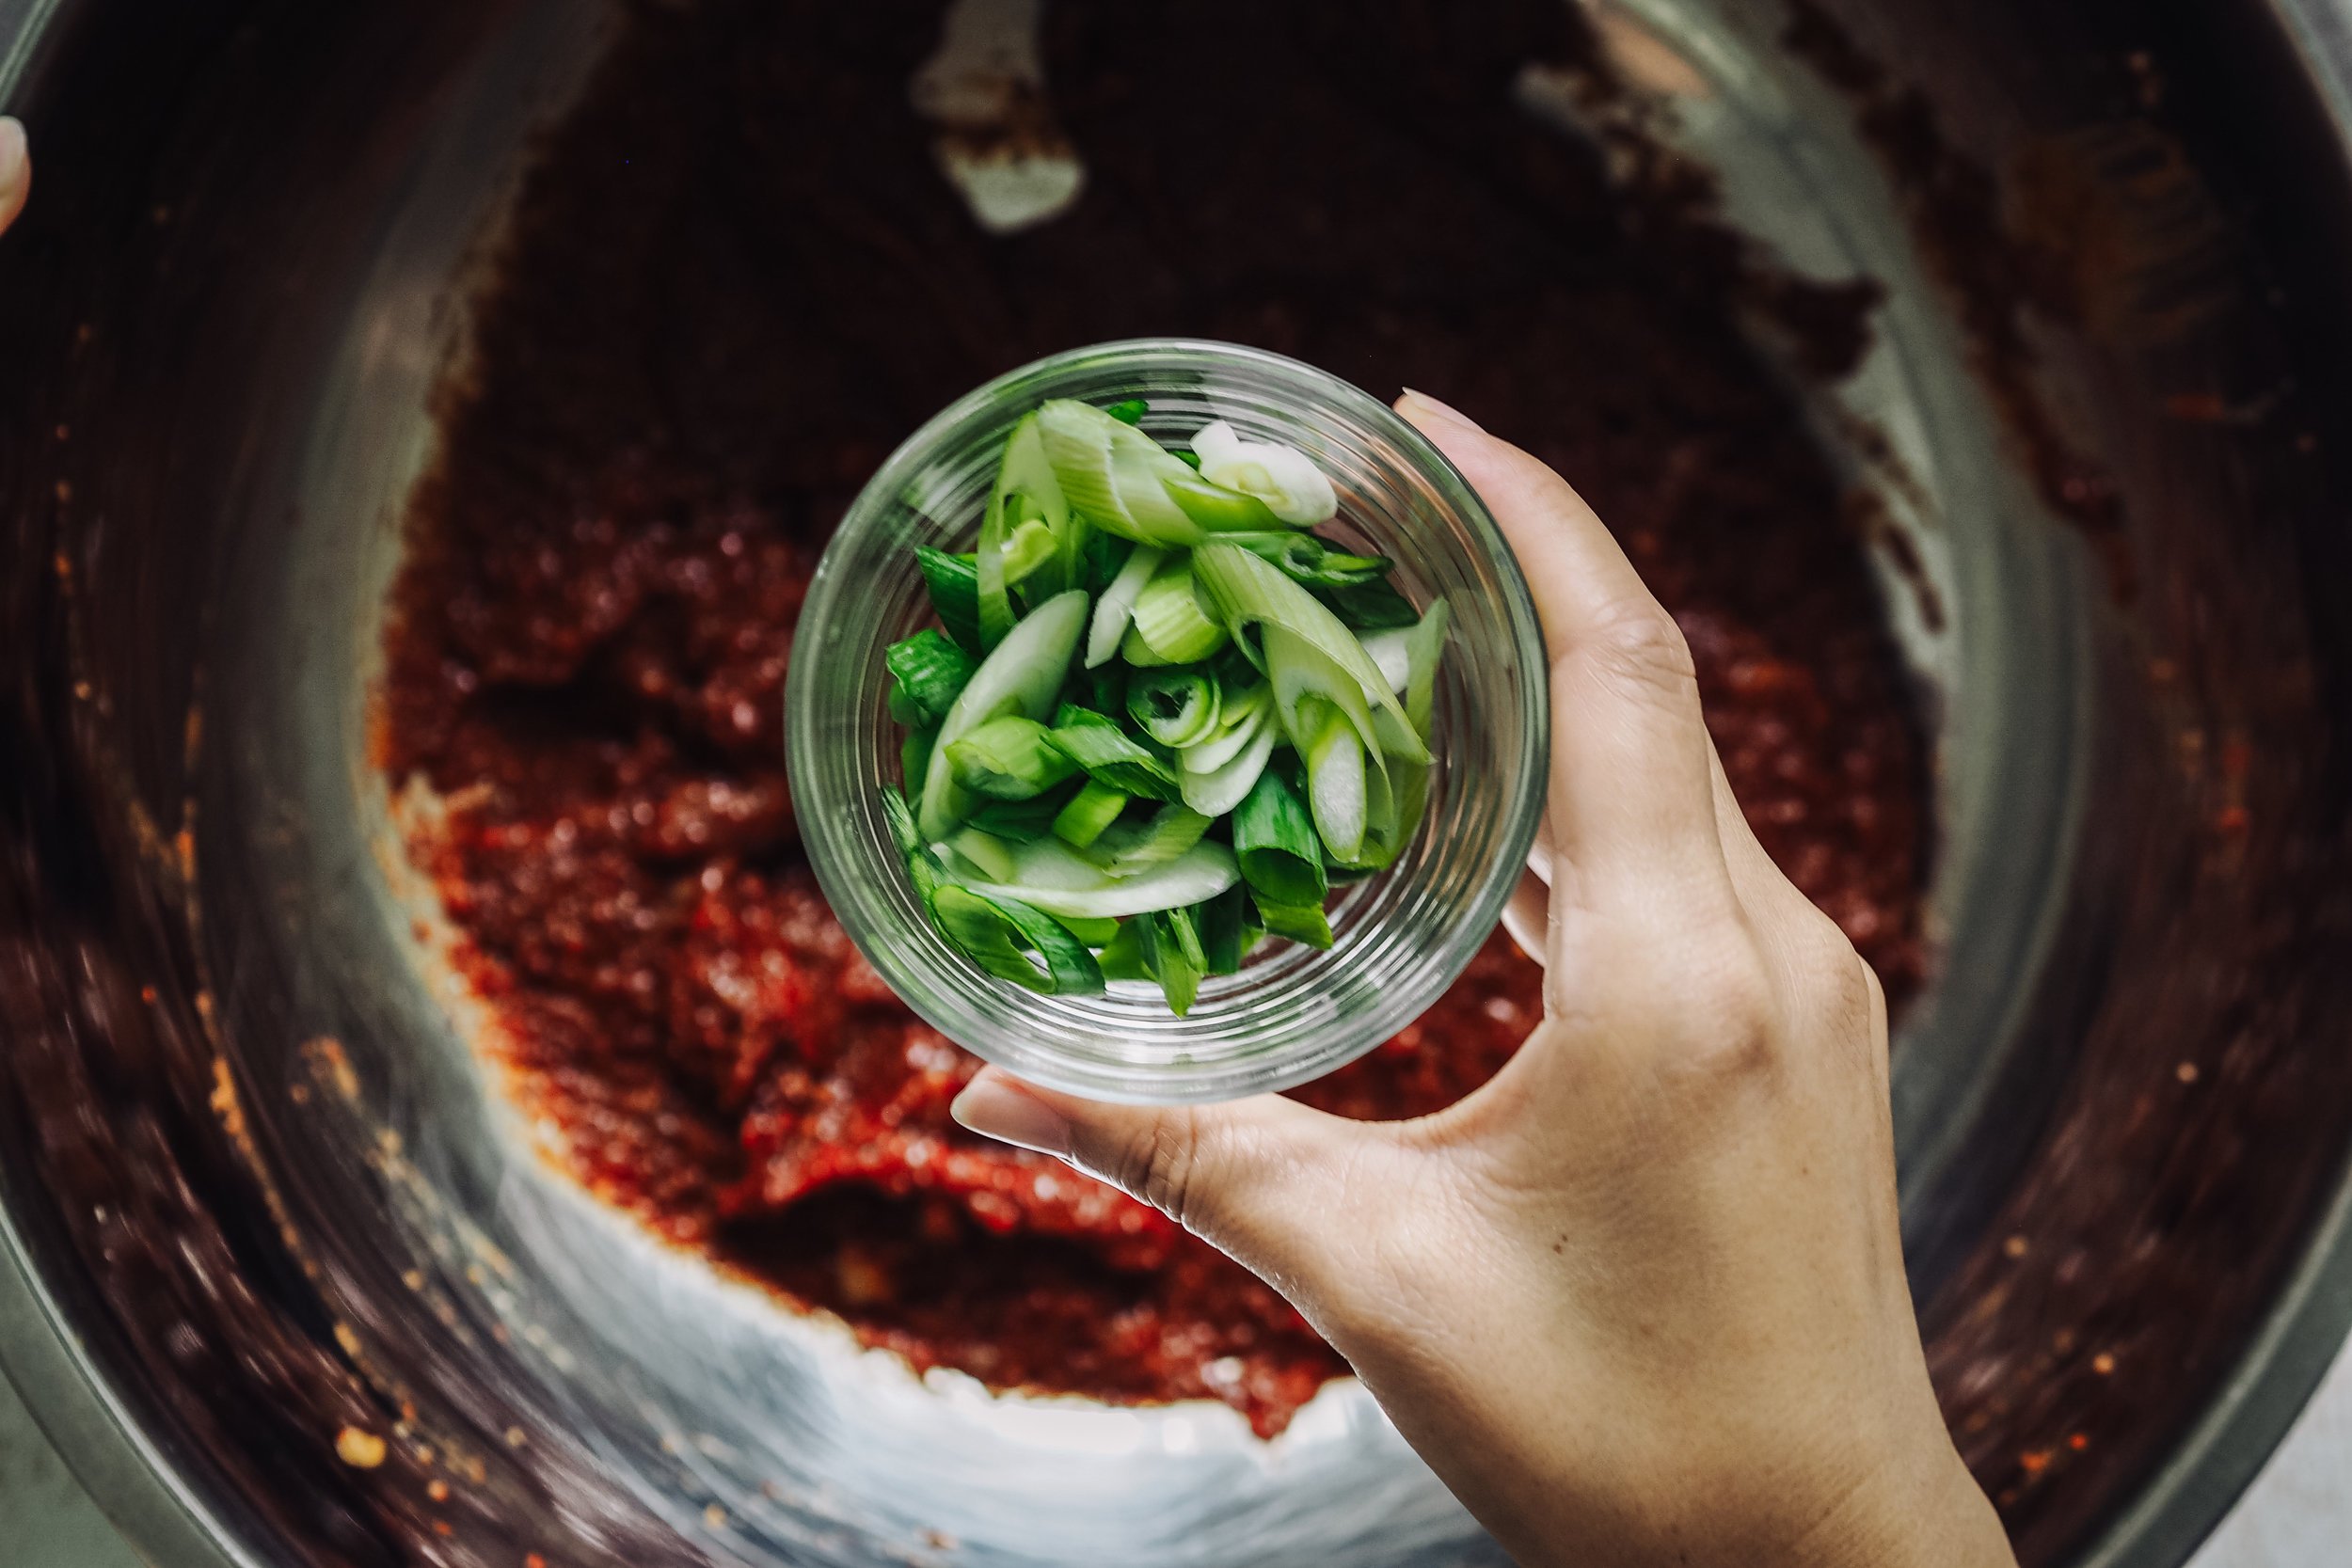
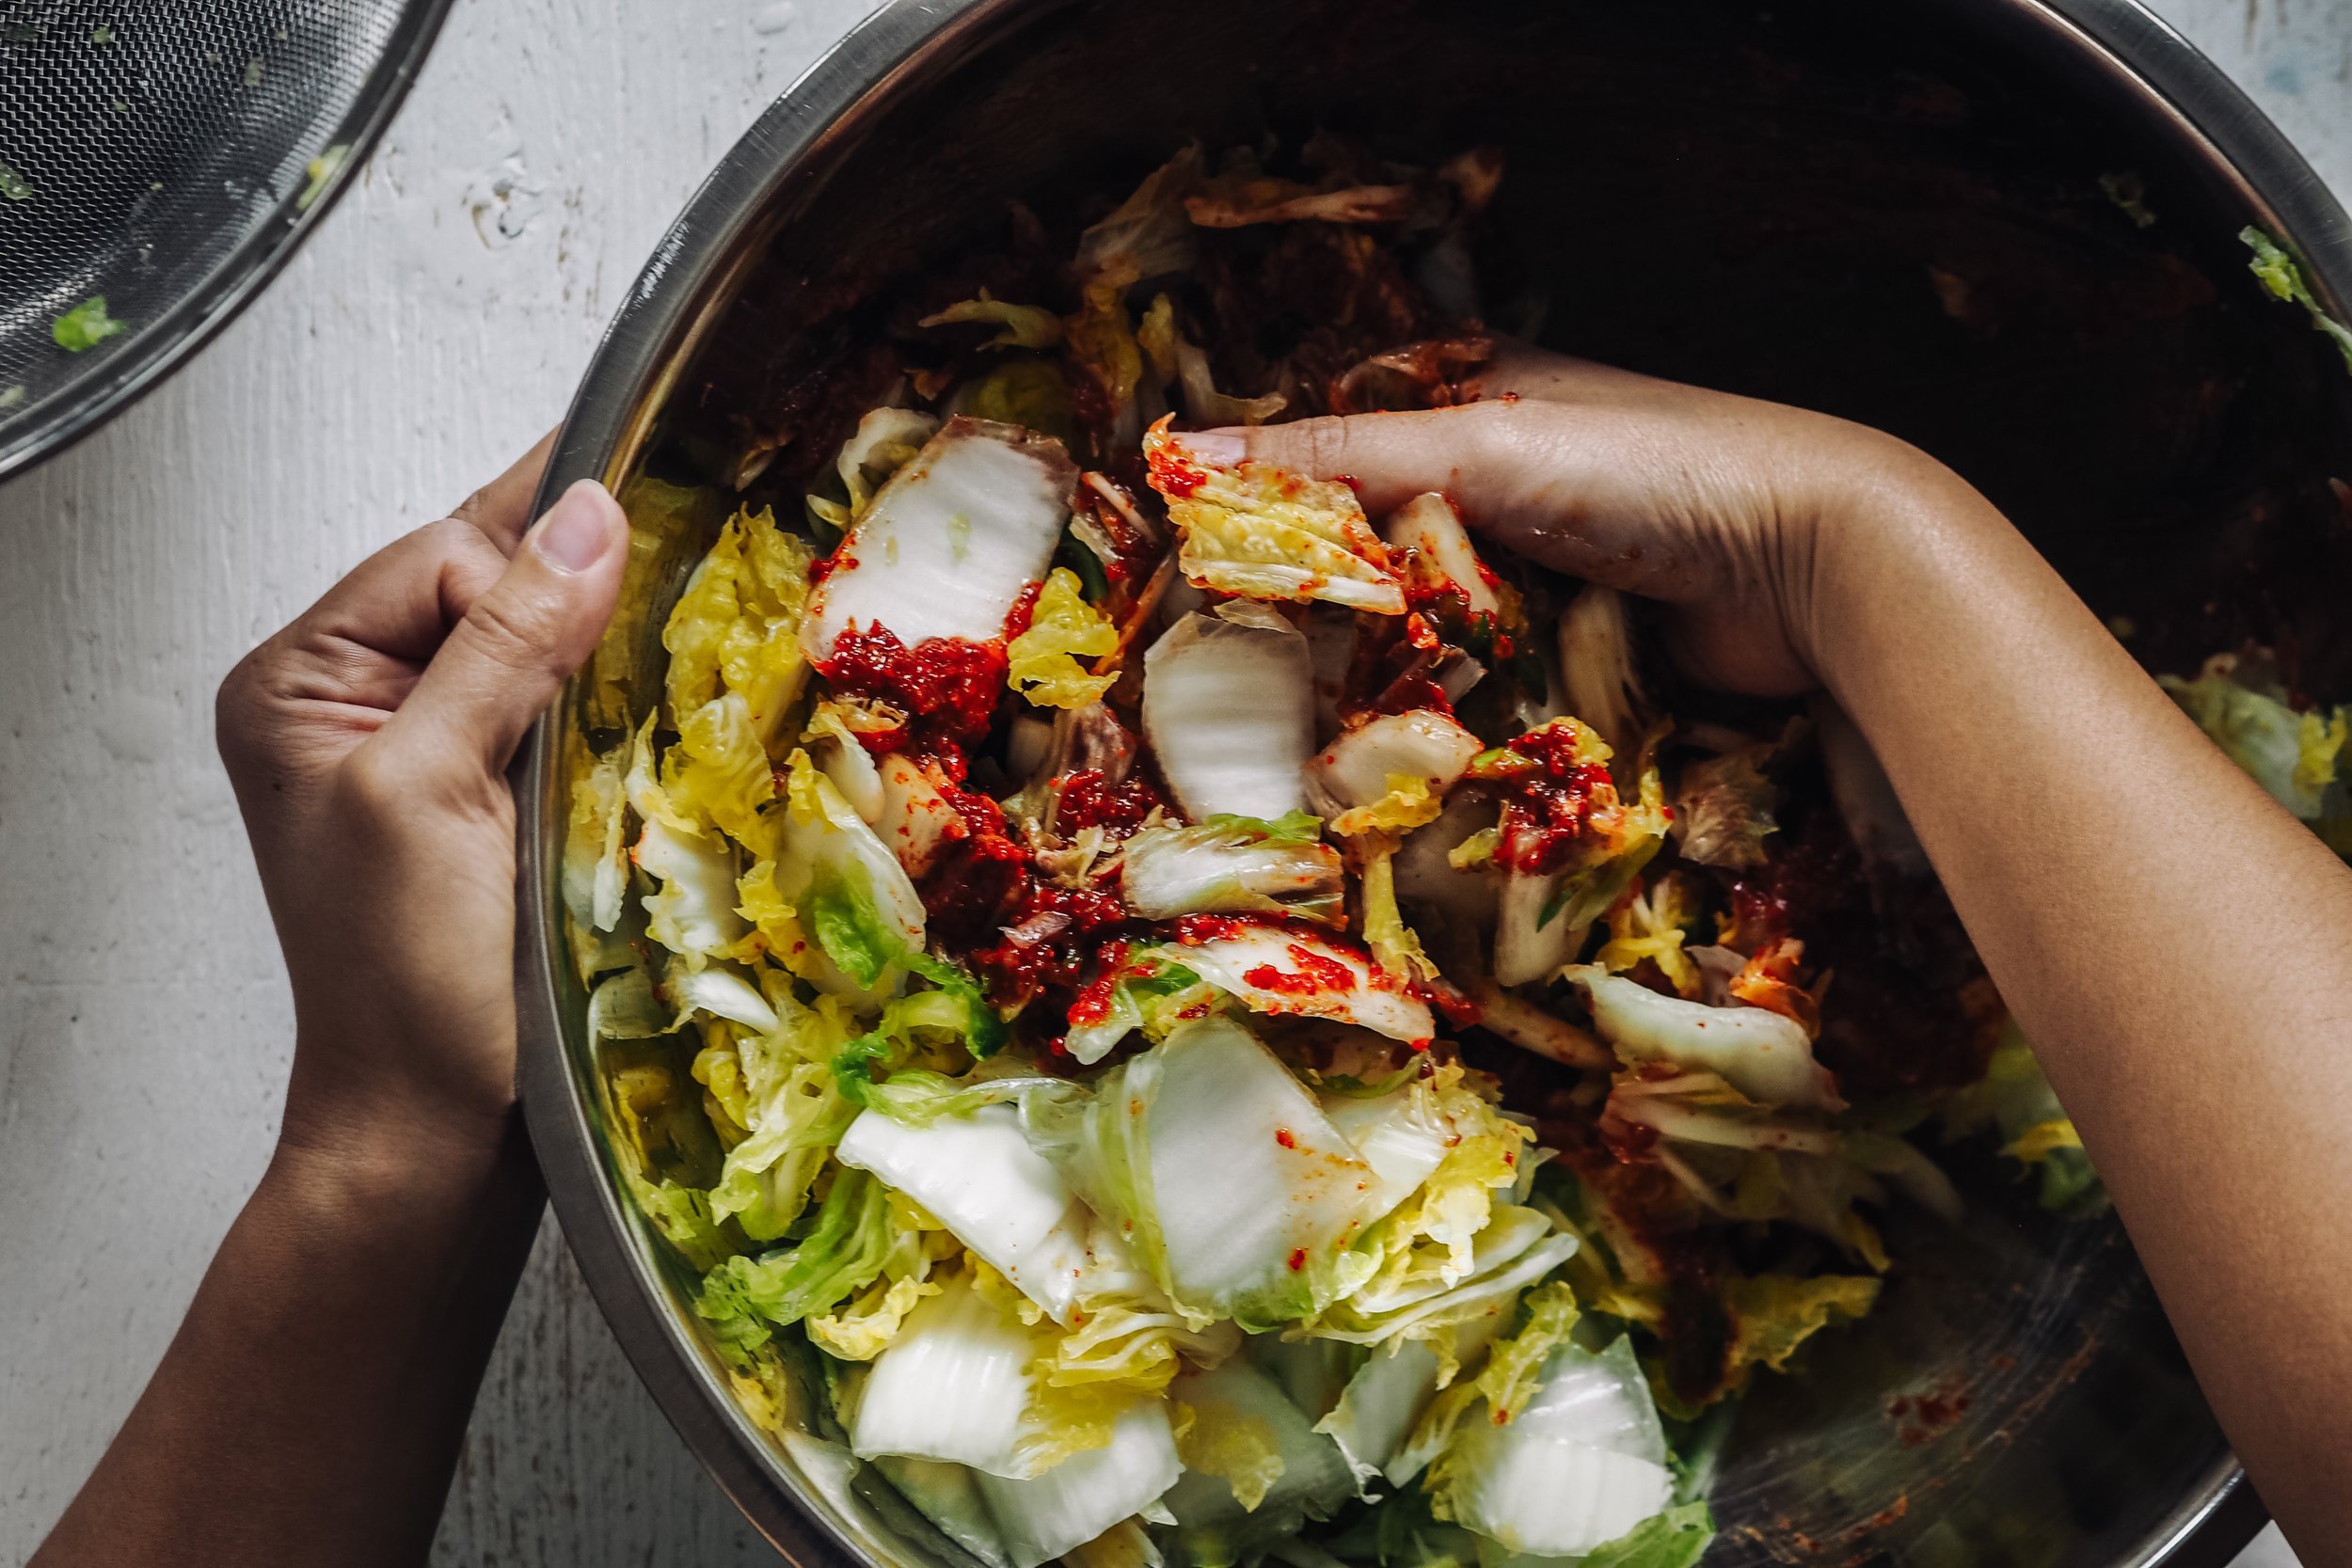
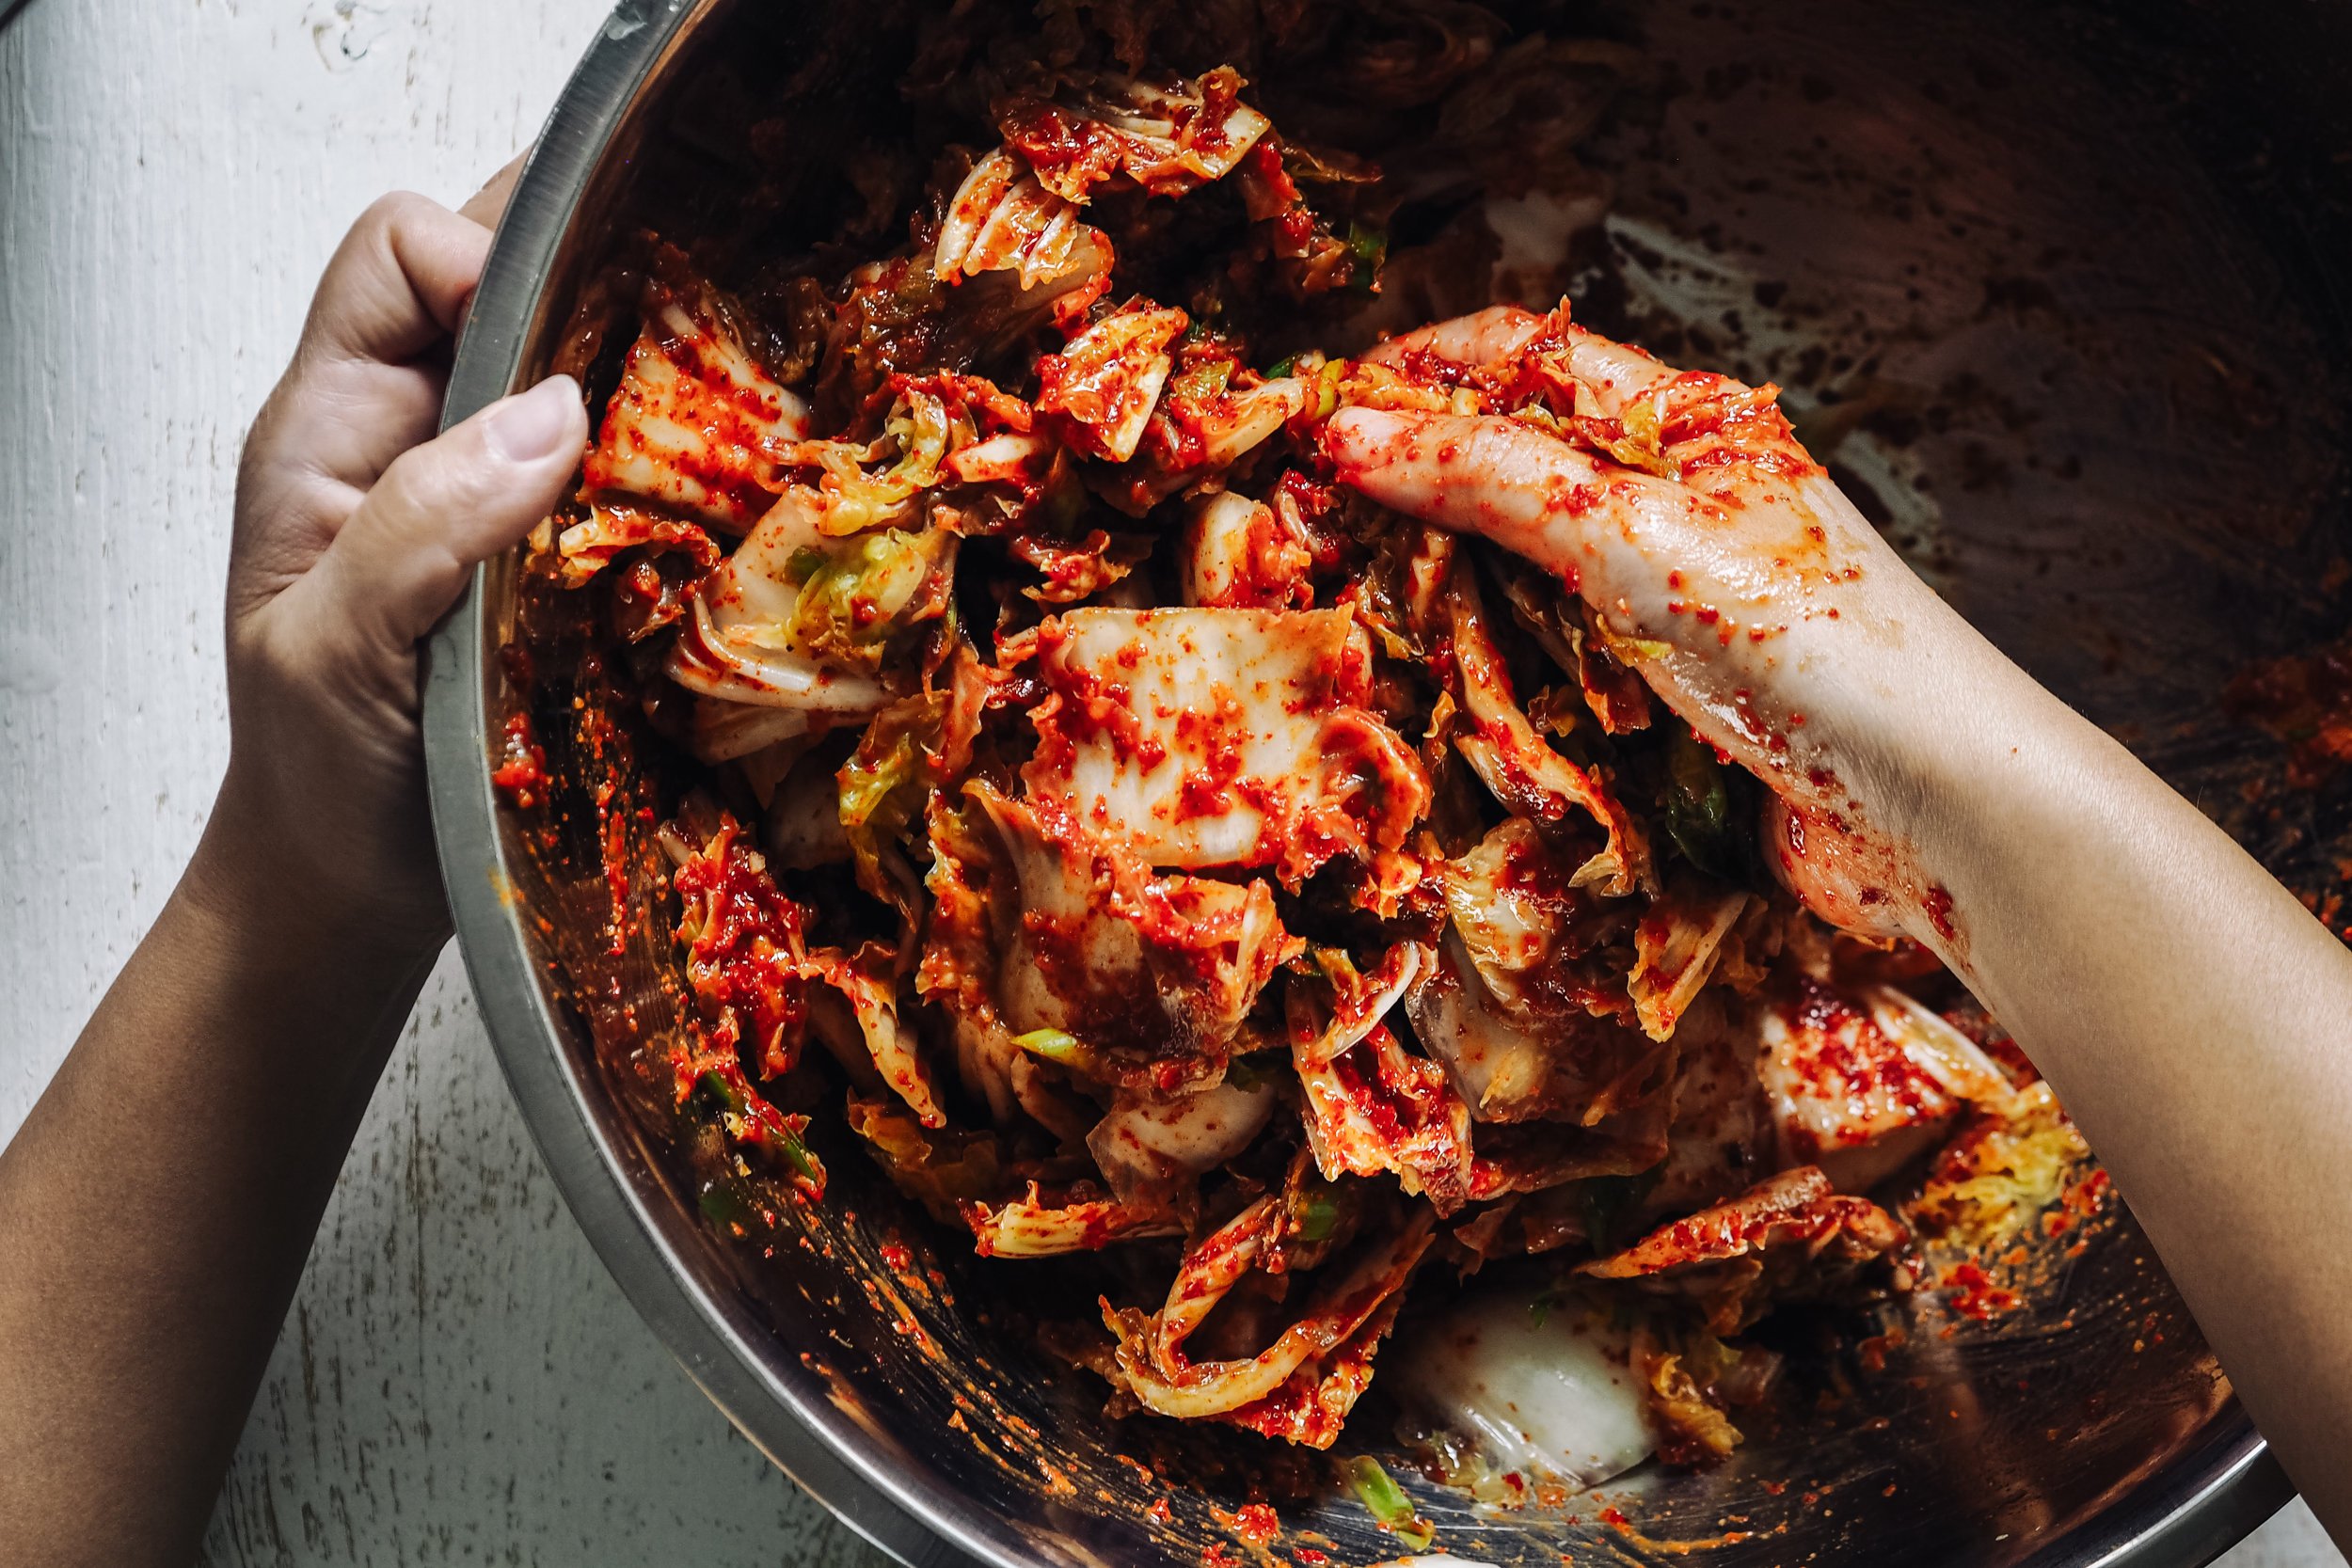
Add the cabbage and green onions to the paste and mix thoroughly until everything is well coated.
Step 8

Fill your jar(s) up to ¾ full.
Step 9

Store in the fridge for about a month, checking on the kimchi regularly. Or if leaving in room temperature, store the jar(s) in a cool, dark place for a few days before transferring to the fridge.
Words by Kimberley Kwo. Photos by Abhishek Dekate.